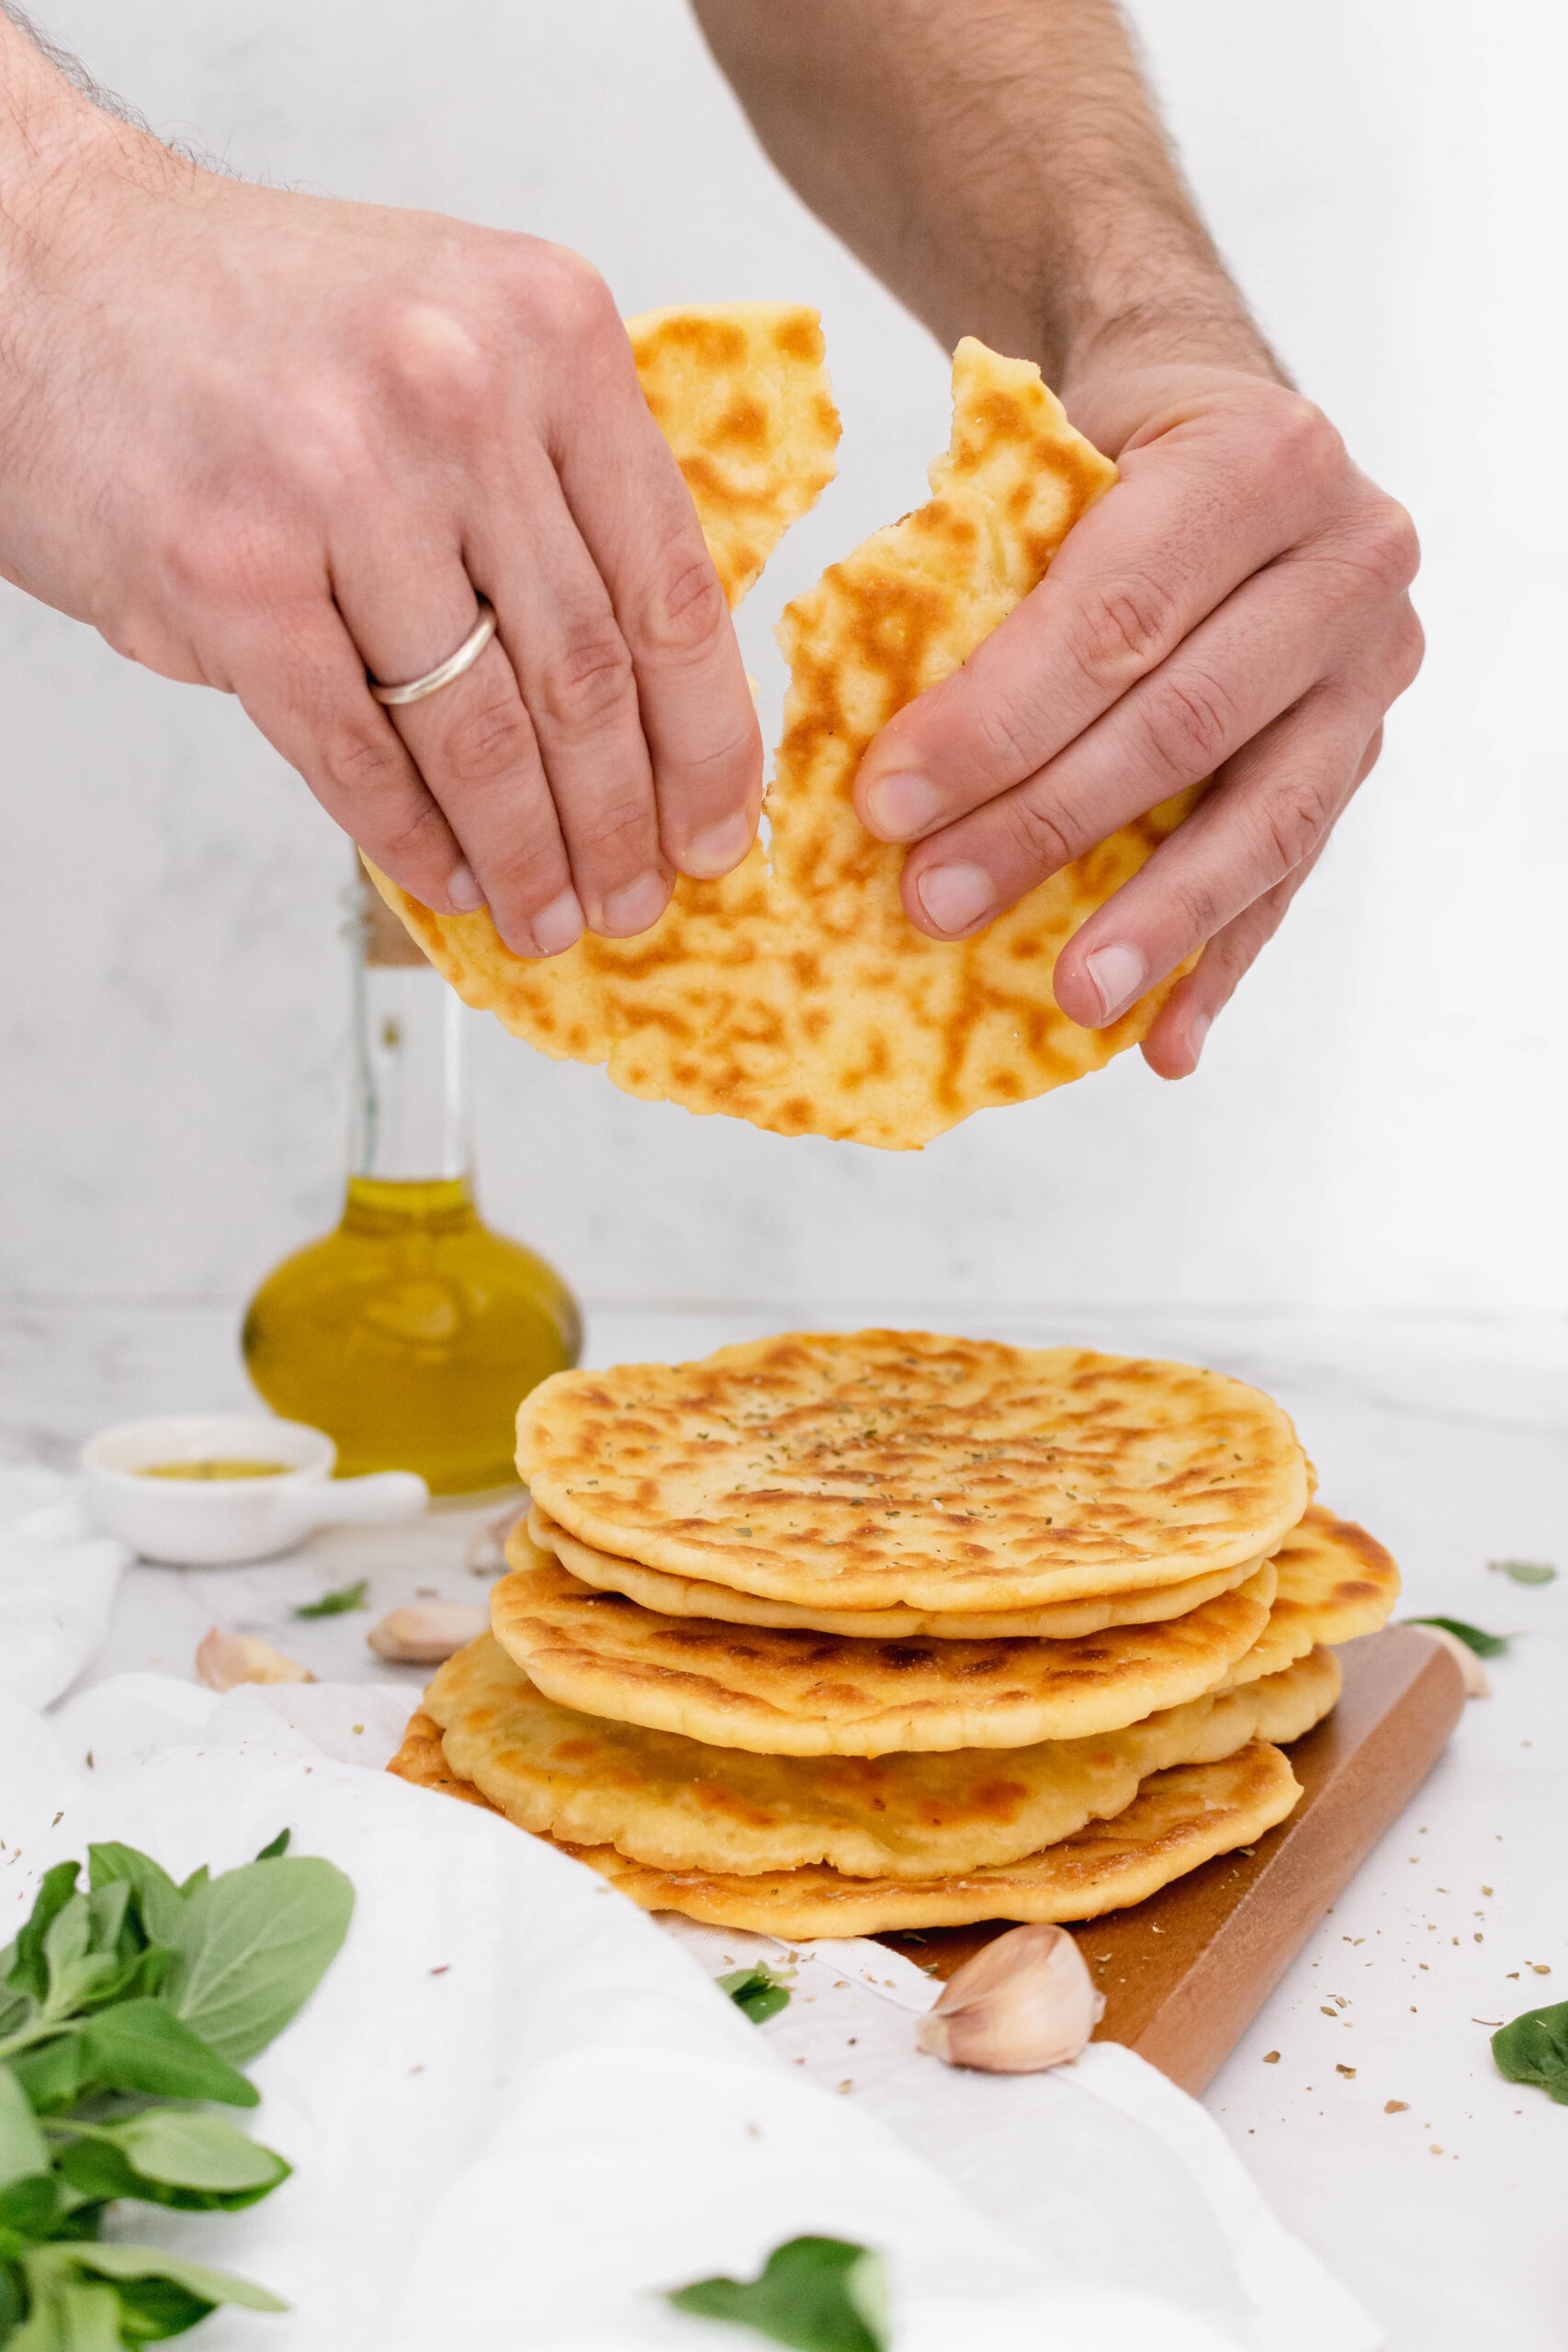
This gluten-free garlic pita bread is soft, easily foldable, but most of all delicious. In Eastern Mediterranean & Middle Eastern cuisines, people are widely using pita bread. Made mostly with flour, water, salt and sometimes yeast, and olive oil, it is the simplest of dishes. In this recipe, I made it with yogurt to make it fluffier, tastier, and gluten-free.
In Greece, we use pita bread extensively to wrap the most popular street food, like souvlaki, gyros, and kebab. Notice the wrap part here. Greek pita bread doesn't have a pocket, but it folds and holds all kinds of stuffing. It is also used to scoop sauces and dips.
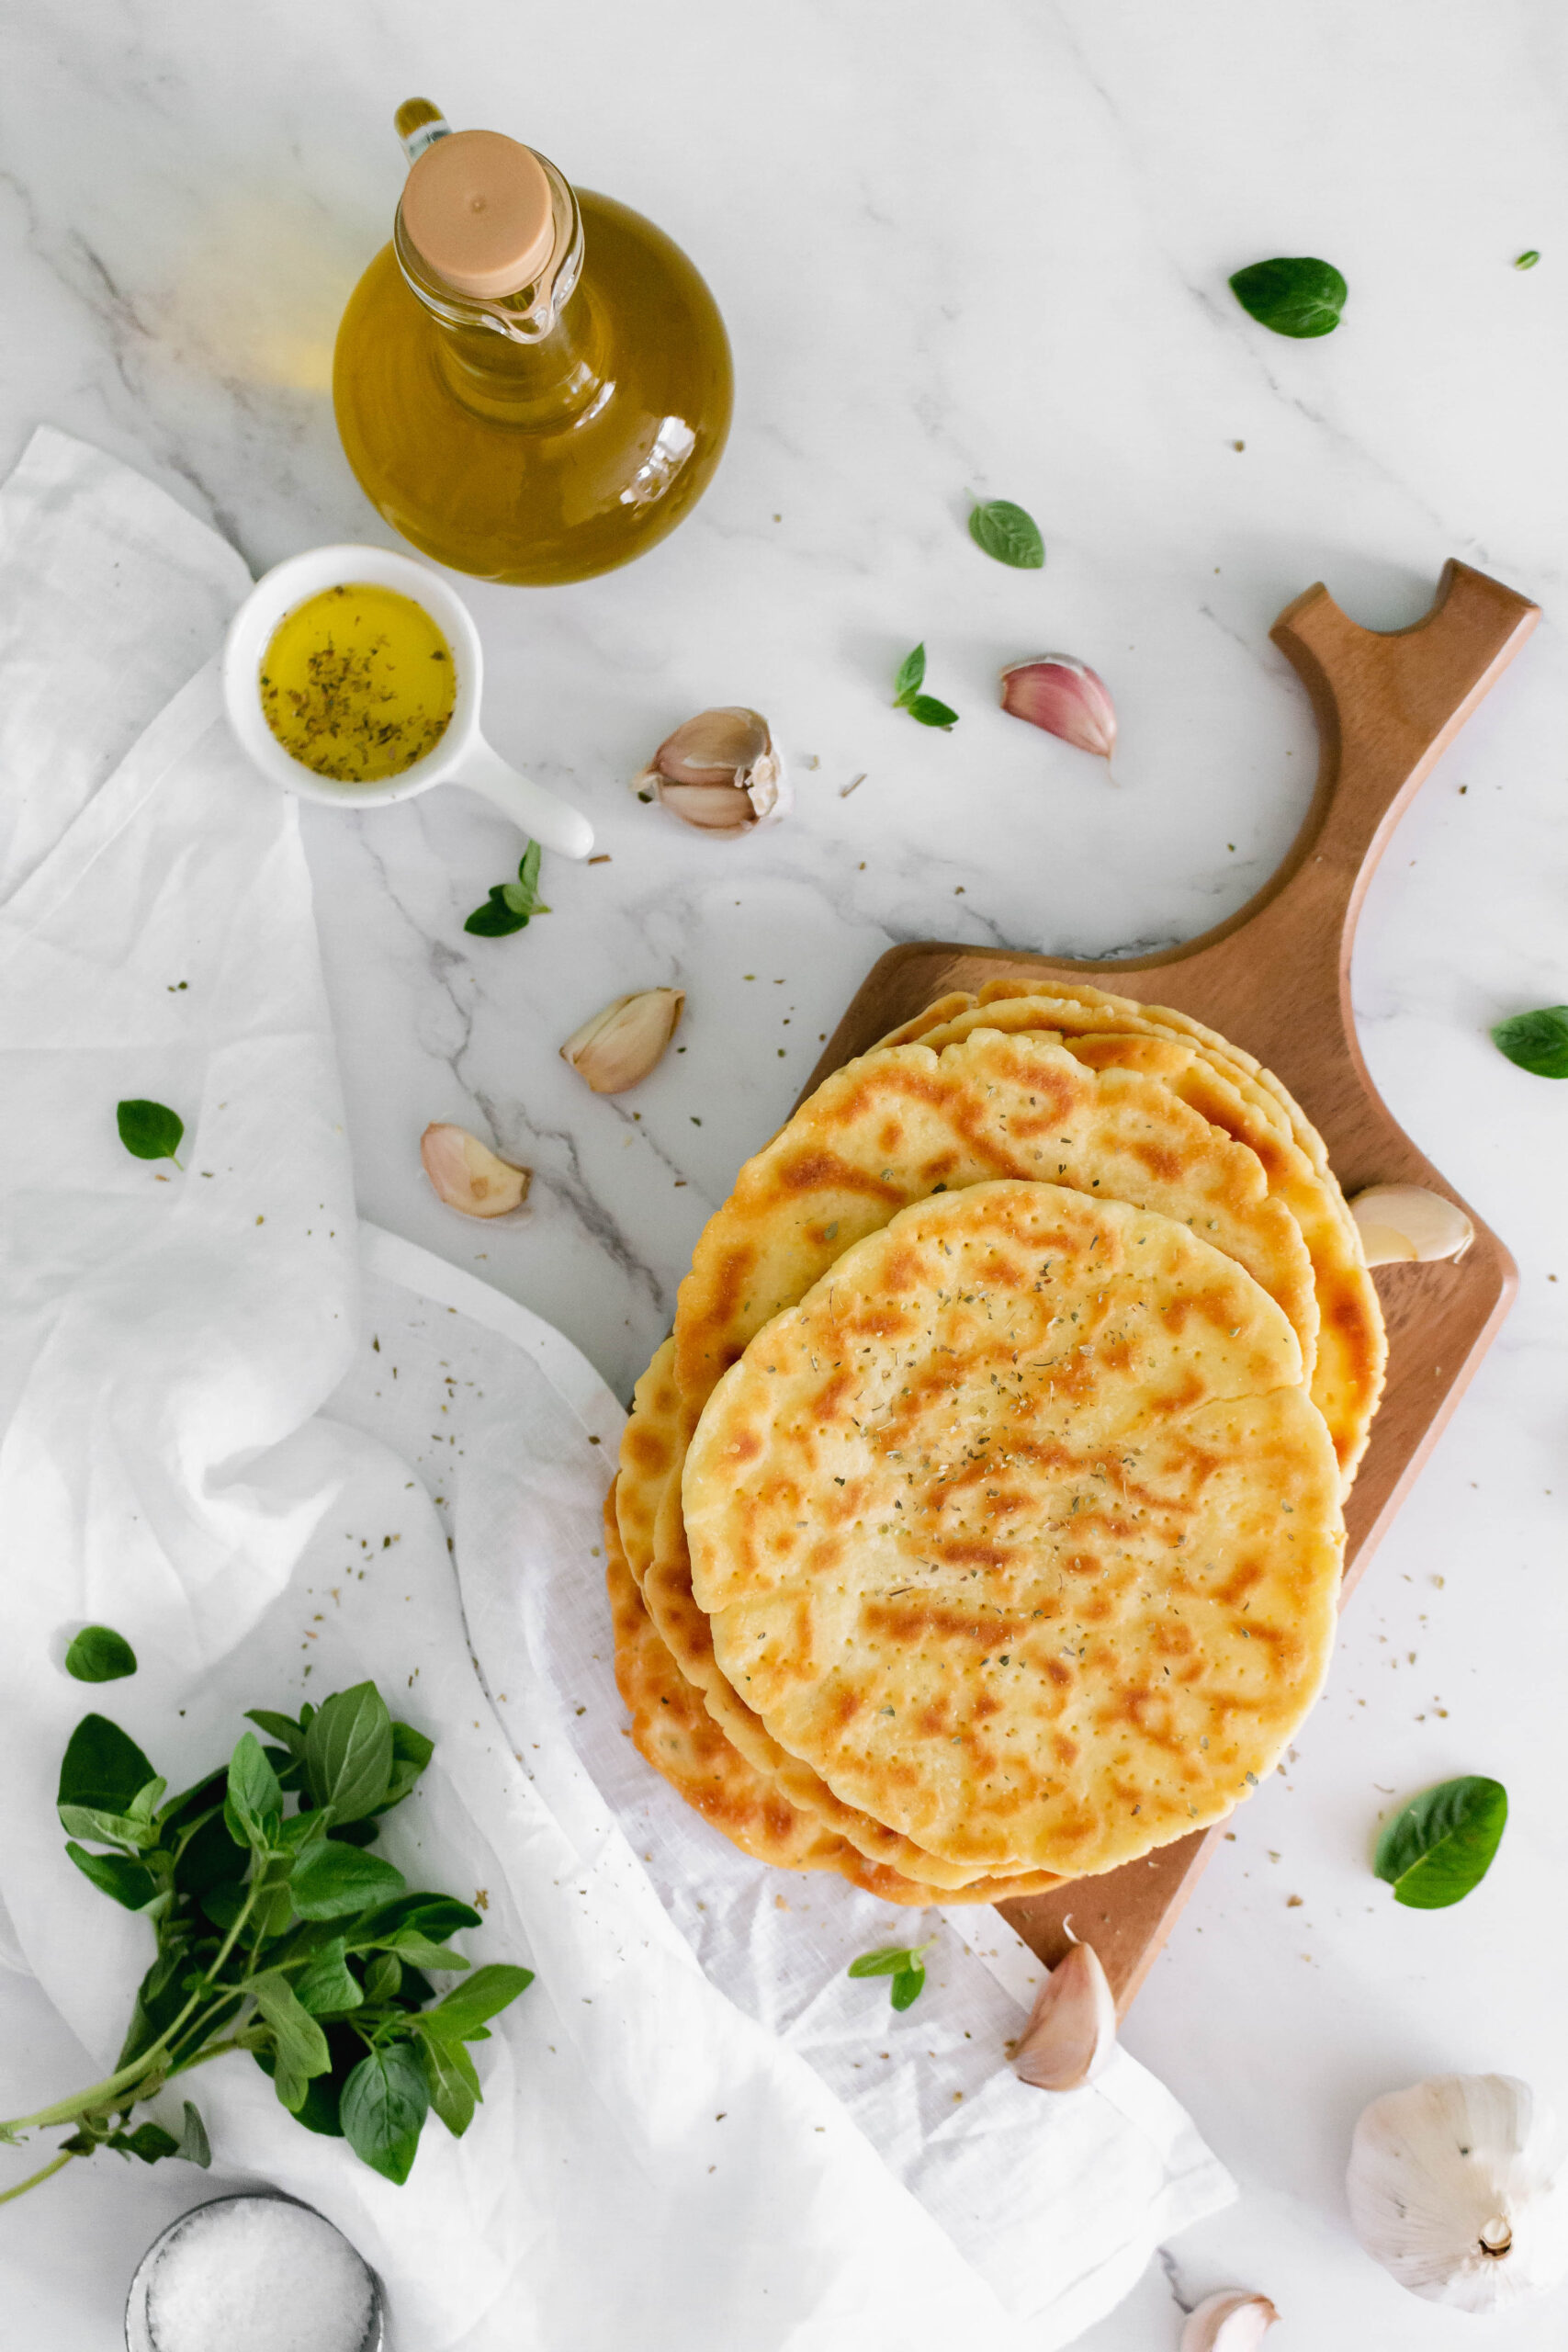
What is pita bread?
It is a type of flatbread. There are many kinds of pita bread. They come in a variety of sizes, flavors, and versions. The most common version is the one with the interior pocket known as Arabic bread. Pita can also be pocketless, and this is how we make it in Greece.
The word pita derives from the ancient Greek πικτή (pikte) which means fermented pastry. Greek pita bread is soft, commonly cooked on a stovetop, and in ancient Greece, it used to be made using barley flour.
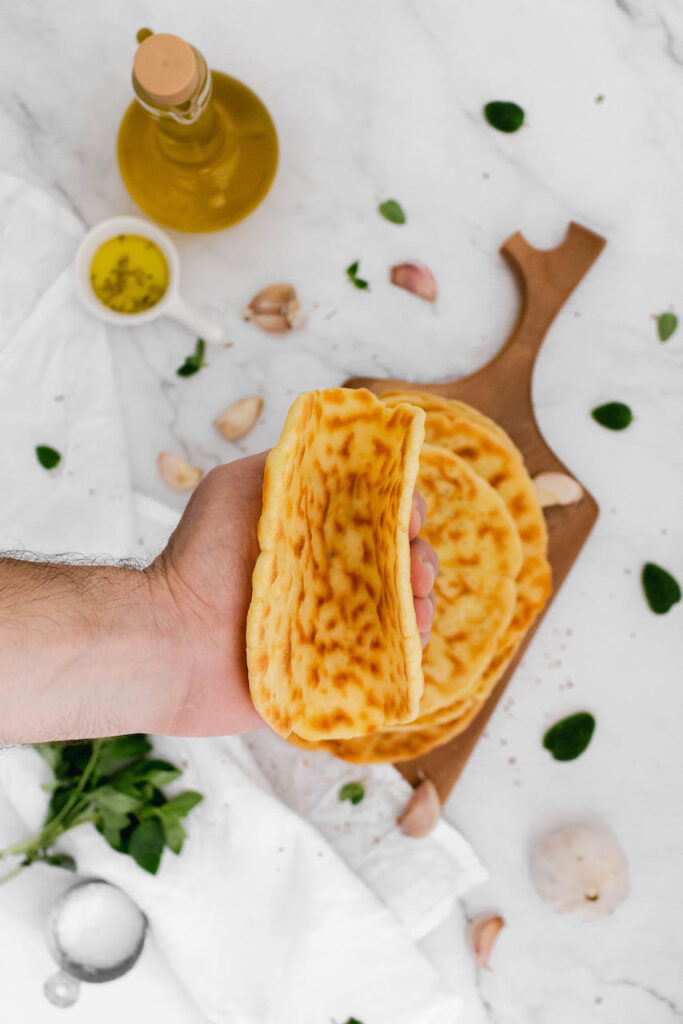
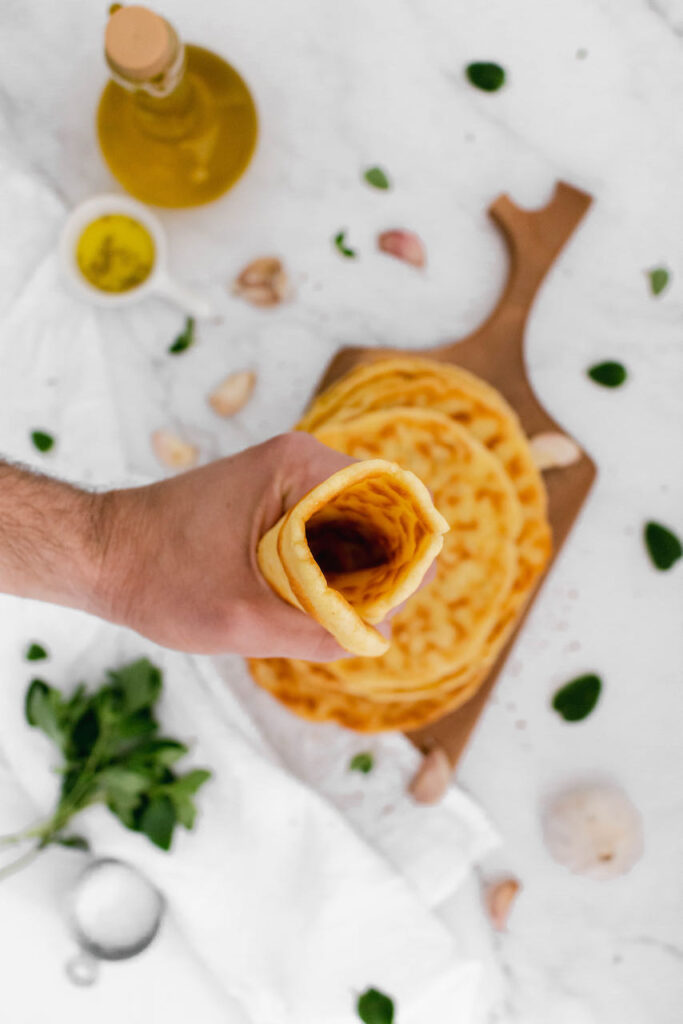
Ingredients for the gluten-free garlic pita bread
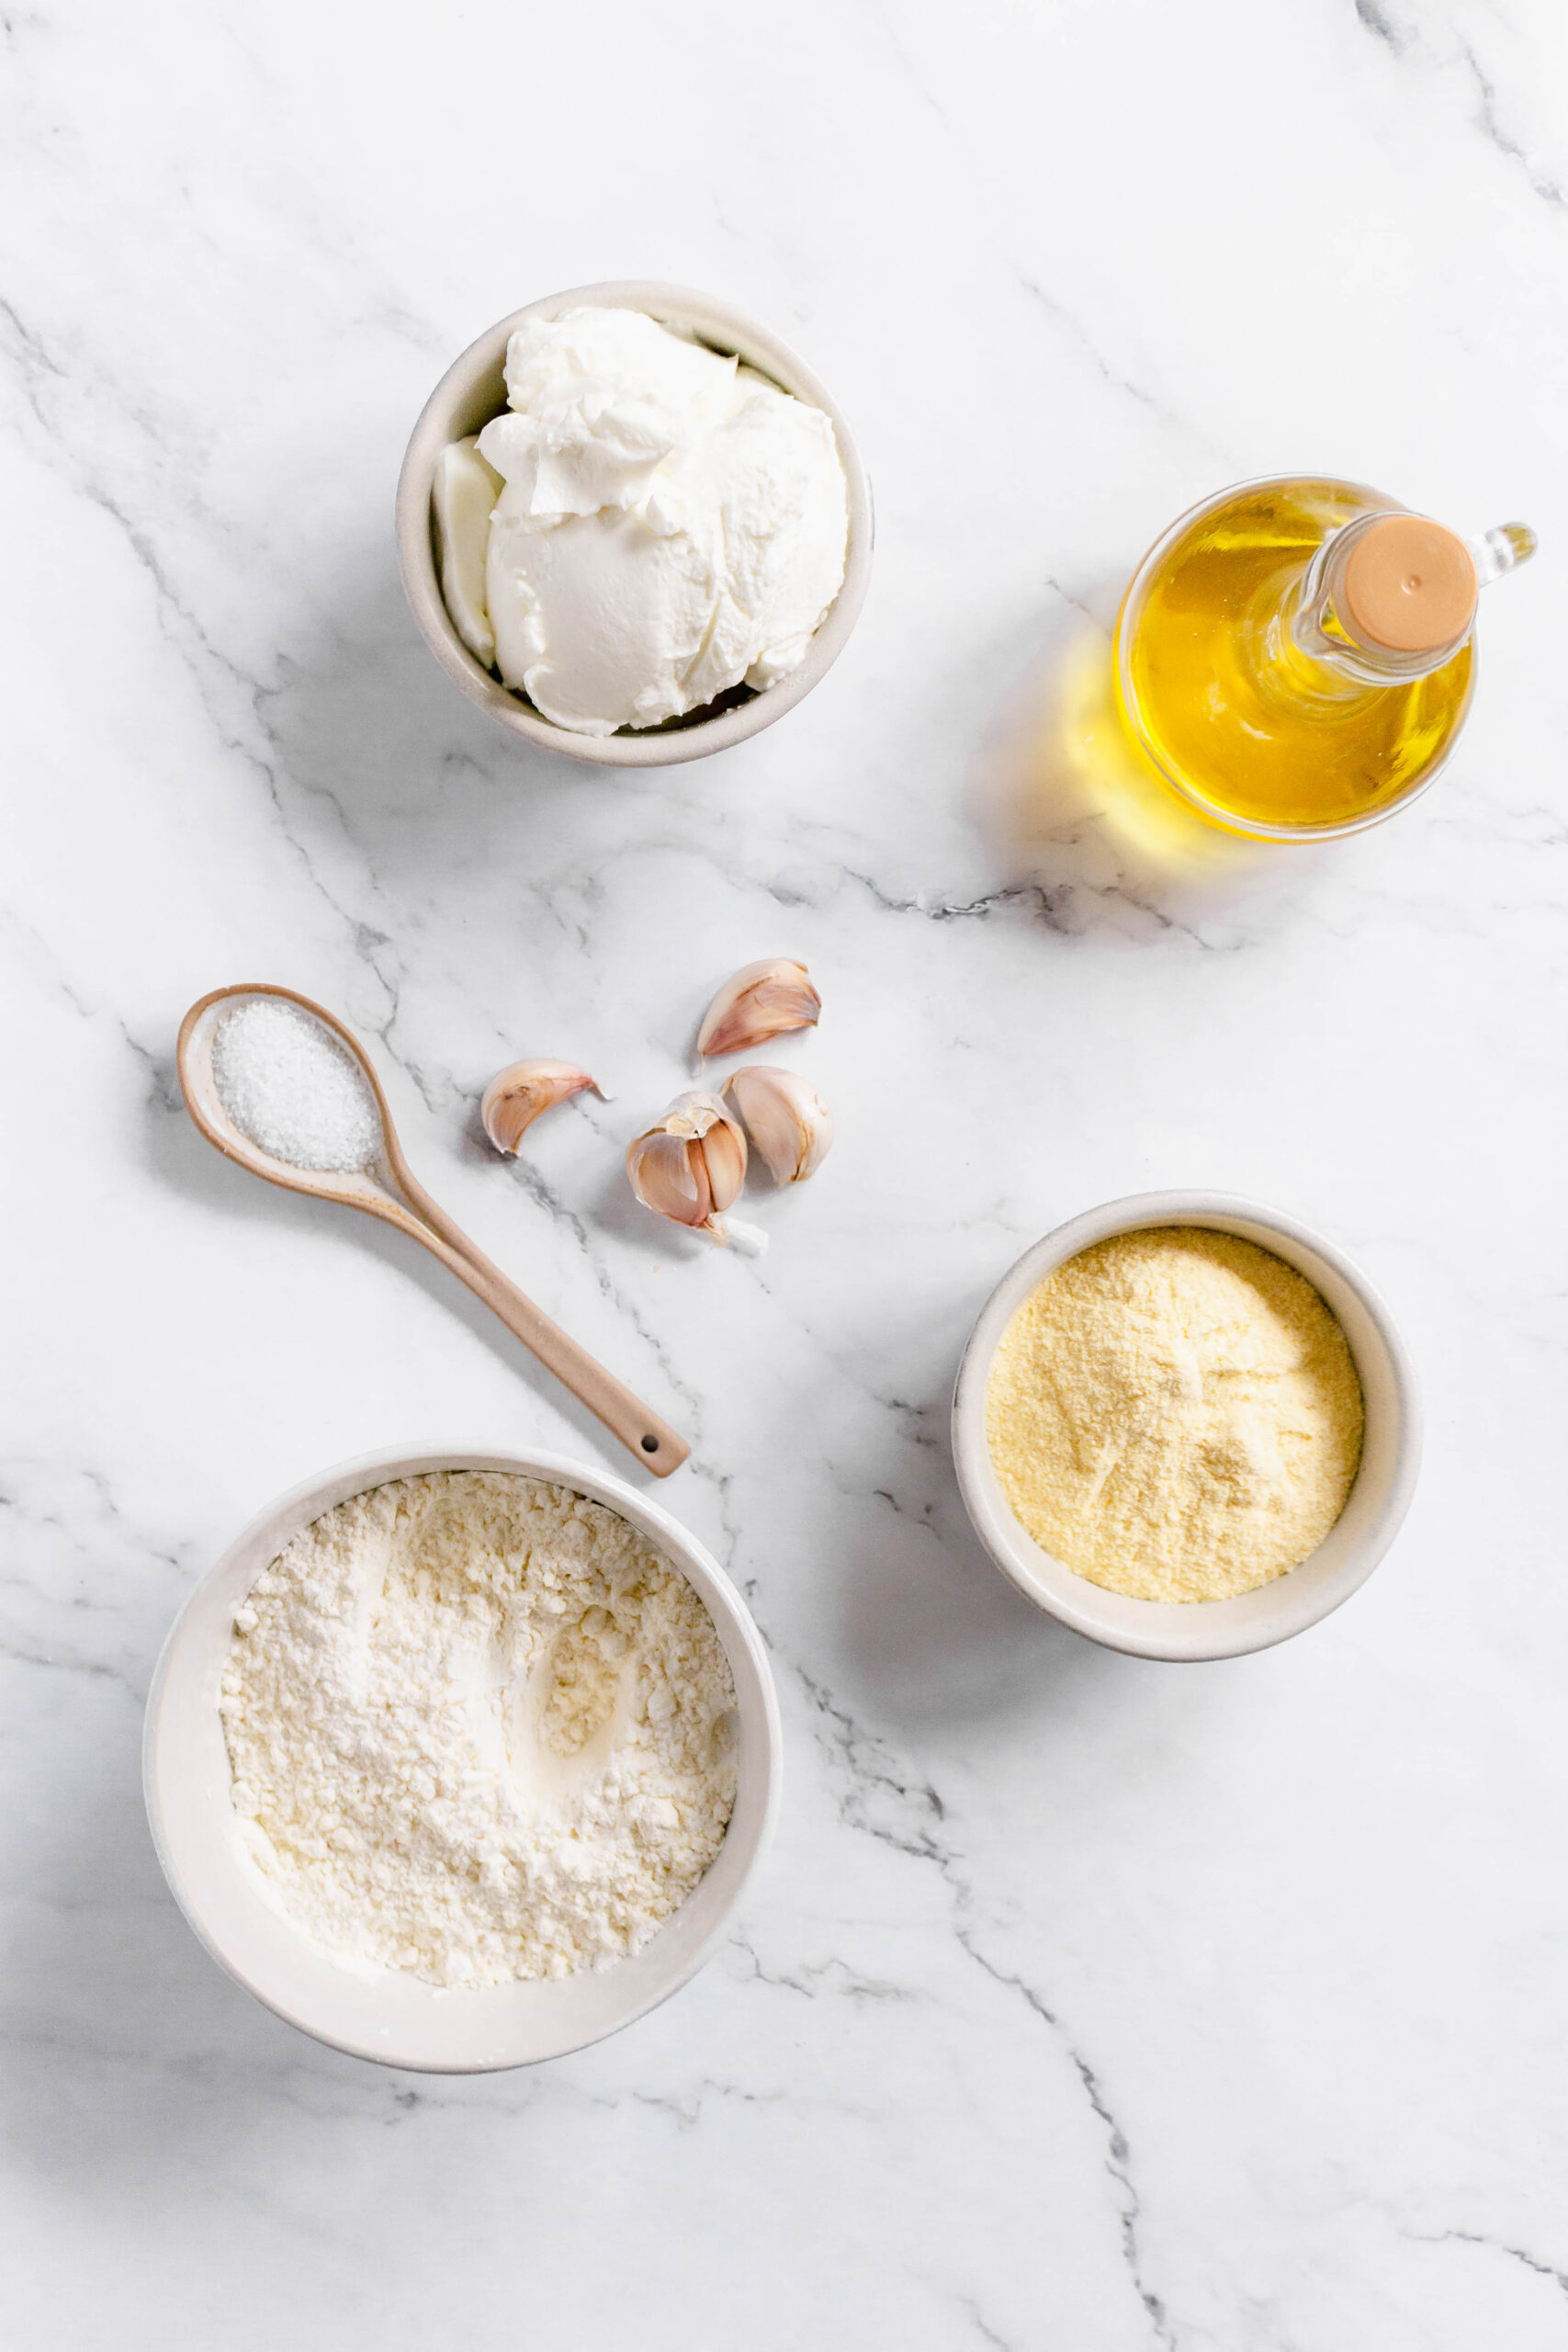
Olive oil: It could not be a pita without olive oil. I use Greek extra virgin olive oil to add a rich, and peppery flavor.
Garlic: I add garlic to make the pitas more fragrant and tasty. This addition is making this pita, taste like garlic bread.
Yogurt: Yogurt is not a typical addition to pita bread, but in this case, it works perfectly. It creates a light and soft dough and gives a slightly sourdough taste to the pitas.
Flour: I am using a mix of all-purpose gluten-free flour and yellow corn flour (very fine).
Baking powder: In this recipe, I use baking powder to help the pita bread rise and become fluffy.
Salt: Salt adds a little bit more flavor to everything.
Tips & tricks
This recipe makes 8-12 pieces of pita bread, depending on the size of the pita. Make them any size that you like and need.
Brush the pan with a little bit of olive oil and wipe the excess oil with a paper towel. It is also recommended to brush every pita bread with olive oil before you flip it into the pan. This will ensure a better color and a crunchier crust.
Cook the pitas in a preheated non-stick pan or skillet on medium heat. You want the pita bread to cook slowly and all the way through.
How to serve the gluten-free garlic pita bread
Pita bread is so versatile and can be served in so many ways. Some of my recommendations are:
- Wrap gyros, souvlaki or kebabs in it
- Use it to scoop dips like tzatziki, hummus, feta dip, etc.
- Fold it to make a panini or tosti
- Top it with sauce and cheese and use it as a quick pizza base
- Cut it to make croutons for salads
How to store gluten-free garlic pita bread
Store the pitas, after they cool completely, in an airtight container, in the fridge, for up to 5 days.
Freeze pita bread, after they cool completely, by placing them in layers, with parchment paper between each pita, for up to 3 months.
Looking for another type of traditional bread?
Are you looking for a different type of traditional bread without gluten? Try also this:
Recipe
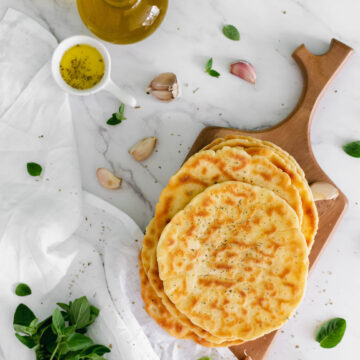
Gluten-Free Garlic Pita Bread
Ingredients
- 250 g/8.8 oz all-purpose flour gluten-free
- 100 g/3.5 oz corn flour gluten-free
- 2 teaspoon baking powder gluten-free
- ½ teaspoon sea salt
- 2 tablespoon olive oil extra virgin
- 2-3 cloves garlic minced
- 390 g/13.75 oz Greek yoghurt full fat
Instructions
- In a large bowl, add the flours, the salt, and the baking powder and mix until combined.
- Make a well in the middle and add the yoghurt, garlic, and olive oil.
- Knead the mixture until the dough that is soft, and a little sticky.
- Transfer the dough into a floured working surface and knead until smooth. Press the dough into a disk, about 22cm (8.6inches).
- Divide the dough into 12 equal pieces and roll them into balls. Dust with some extra flour to help the dough from drying and cover with a kitchen towel.
- Place a non-stick pan on medium heat and let it get hot.
- Using a rolling pin, roll the balls into disks, one at a time.
- Brush the pan with some olive oil, poke some holes with a fork in the pita and place it to the pan.
- Cook until golden on one side, then brush with some olive oil on the top and flip the pita. Cook until the other side is golden and remove. Use a wooden spoon or a spatula to press down the pita to give more color.
- Continue until all the pitas are done. Add the filling of choice and wrap them or cut them into pieces.
- Enjoy!!
Notes
Nutrition facts
Servings: 1 (66g) | Calories: 147kcal | Carbohydrates: 24g | Protein: 6g | Fat: 2.9g | Saturated Fat: 0.4g | Trans Fat: 0g | Cholesterol: 2mg | Sodium: 110mg | Potassium: 181mg | Fiber: 1.2g | Sugar: 1.17g | Vitamin B1: 0.193mg | Vitamin B2: 0.2mg | Calcium: 77mg | Iron: 1.28mg | Phosphorus: 147mg
Have you tried this recipe?
Spread the love and mention @foodathlon_ or tag #foodathlon on Instagram
Leave a comment and star rating ★ in the section below

Leave a Reply